The Two-Round Rule: Carving a Birthday Number Cake Without a Mould
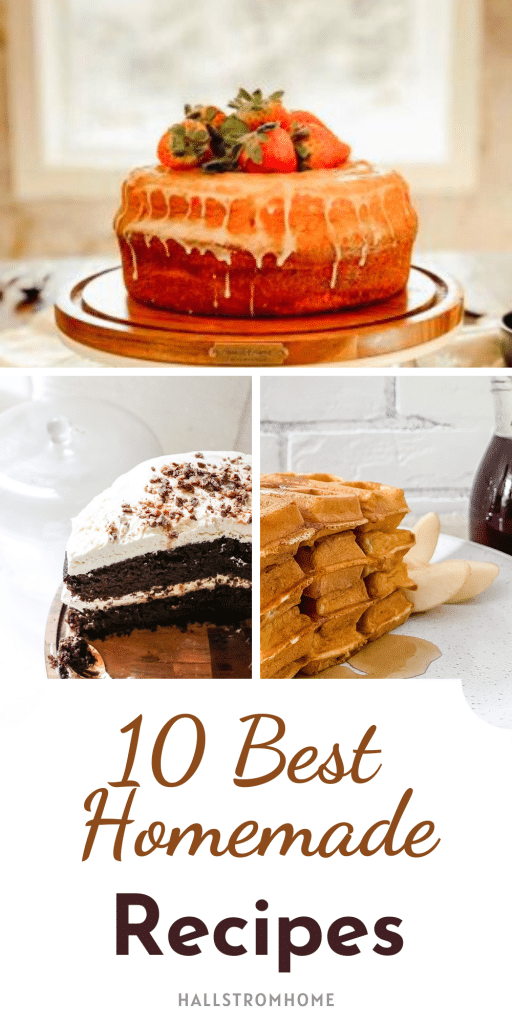
Photo: homemade birthday number cake decorated with buttercream and colourful sweets on a cake stand, via www.hallstromhome.com
Number cakes look like the sort of thing that requires a specialist tin, a laminator and possibly a pastry qualification. They do not. Two round sponges, a sheet of paper and a long knife will get you a very respectable digit, and you probably already own all three.
Why Two Rounds Are Better Than a Special Pan
A shaped number tin is used once, then lives on top of the wardrobe for a decade. Two 20cm round tins earn their keep all year. Laid side by side, they give you a canvas roughly 40cm wide and 20cm tall — enough for any single digit from one to nine, provided you draw it sensibly. For a double-digit age you will need two batches of sponge and two templates, but the method is identical.
The trick is to think of the numeral not as a solid slab but as a thick, bendable stroke. Keep every stroke at least 5cm wide. Anything thinner snaps when you lift it, and thin strokes are also a nightmare to crumb coat.
Sizing the Template Before You Switch the Oven On
Do this the night before, with a cup of tea, rather than at 8am in a panic.
- Tape two sheets of A4 together along the long edge — that gives you roughly 42cm by 30cm of drawing space.
- Stand your two tins on the paper, side by side and just touching, and draw round them. That outline is your absolute limit.
- Sketch your digit inside the outline in pencil. An eight or a six will need the full width; a one will look better narrower and taller.
- Cut out the template and hold it up. If it flops, the strokes are too thin. Redraw.
Leave yourself a 1cm margin at the edges. Any more and the cake looks mean; any less and the carving gets fiddly.
Baking a Sponge That Can Take the Knife
This is not the moment for a featherlight whisked sponge. You want something with a bit of backbone — a madeira, a sturdy vanilla, or a modest chocolate sponge. A dependable ratio: 200g softened butter, 200g caster sugar, four eggs, 200g self-raising flour and a splash of milk, divided between two greased and lined 20cm tins. Bake at 180C conventional (160C fan) for 22 to 25 minutes, until the tops spring back and a skewer comes out clean.
Let them cool fully in the tins, then wrap and chill for at least half an hour. Cold cake cuts cleanly. Warm cake tears, crumbles and makes you swear in front of the birthday child.
The Carve: Long Knife, Short Strokes
Lay the chilled sponges flat and place the template on top. Hold it steady with one hand — or pin it with cocktail sticks if you are feeling cautious — and cut with a long serrated knife, keeping the blade vertical. Cut down in gentle sawing passes rather than pressing. Work round the outline in one direction, then lift the template away and tidy any wobbles.
Split each sponge horizontally into two thinner discs before you carve, if you fancy. Four layers give you more height, more filling and more forgiveness when a stroke needs building up. Keep every offcut — they are excellent for padding out a thin section and even better in a trifle the next day.
Stacking Without the Wobble
Sandwich the pieces with buttercream, using a ring of icing around the edge and a spoonful of jam or lemon curd in the middle. Do not overfill: a fat, slippery filling is how number cakes end up on the floor.
Press each layer down gently and evenly, then check with a ruler or a straight edge. If a stroke is tall and narrow — the upright of a four, say — push a bubble tea straw or a trimmed wooden skewer through the centre. Nobody will ever know, and the cake will arrive at the table in one piece.
The Crumb Coat That Erases the Seams
Chill the stacked cake for twenty minutes. Then cover it thinly with buttercream, working it into every join with a palette knife or the back of a spoon. This is not the pretty layer; it is the primer. Smooth it roughly, scrape off the excess and chill again for half an hour.
Now apply the final coat. Dip the palette knife in hot water and dry it between passes — warm metal glides, cold metal drags. If you want sharp edges, run the flat of the blade along the sides and top. If you want soft and rustic, a few swirls are entirely the point.
Dressing It: Sweets, Sprinkles and a Steady Hand
This is the joyful bit, and it need not cost much. A bag of Smarties, a box of Maltesers, chocolate buttons, jelly tots and a couple of strawberry laces will finish a number cake beautifully. Home Bargains and B&M are goldmines; the supermarket baking aisle will do at a push. Press sweets on while the buttercream is still tacky, starting at the corners and working inwards, and leave a clear zone for candles.
For a smarter look, pipe rosettes with a 1M star nozzle in a single colour and dot a few sweets between them. Freeze-dried raspberries, a scatter of gold sprinkles or a handful of fresh berries all lift it without any piping skill at all. If the cake is going in the fridge, add fresh fruit at the last minute — cold, damp air turns berries soggy.
A Timetable for the Day
- The day before: bake both sponges, cool, wrap and chill (or freeze). Draw and cut the template.
- Morning: carve, fill and stack, then crumb coat. Chill for at least 30 minutes.
- Two hours before: final buttercream coat, then decorate.
- Half an hour before: transfer to a board or cake stand, add candles, and clear a space in the fridge if it is warm indoors.
One Last Nudge
The first number cake is the fidgety one. The second is quicker, and by the third you will be carving a seven from memory while the kettle boils. Keep your strokes thick, your cake cold and your expectations kind, and a pair of plain round sponges will do the rest.